In this quick tip, we cover the After Effects technique of transforming illustrator art from one shape layer to another by animating the layer path keyframes.
We start off with an example using text, then move on to transforming the adobe illustrator files. I show you how to convert an illustrator file into shape layers, either by the very quick Explode Shape Layers Script, or the traditional time-consuming way.
The script used in this Tutorial:
Explode Shape Layers 3 $29.99: https://aescripts.com/explode-shape-layers/

Learn how to create something like this.
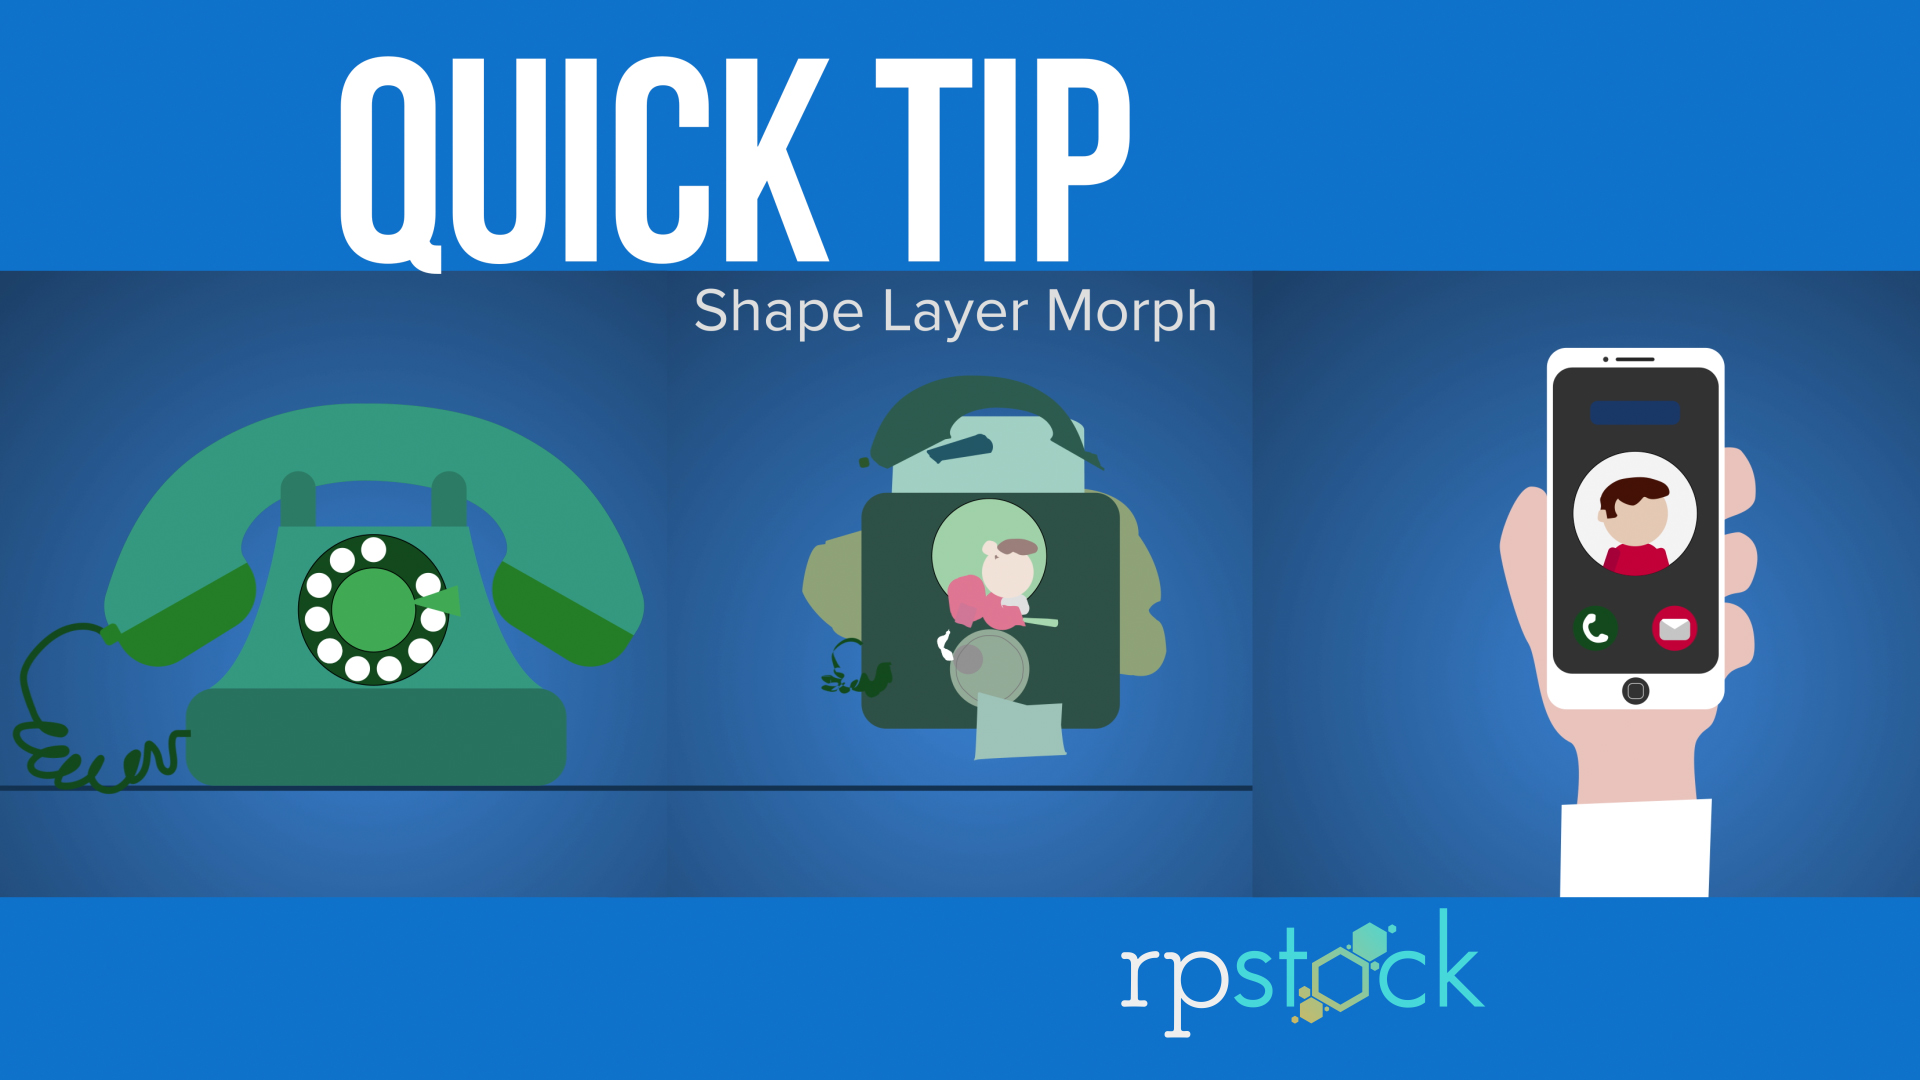
I created an entire video for a client using this same technique. Watch the video link here: https://www.revelpix.com/VideoProduction/Samples/n-ZjfwF/i-kPQ7mZX/A
You can even see the sample example I used to transform the rotary phone to the cell phone. I saved a ton of time on this video by purchasing the script. It would have taken forever to copy and paste the individual paths from Illustrator to After Effects for all those illustrations.
I hope you all learned something from this tutorial and it helps inspire you on your next project.
-Dave
Update 4/24/18: Thanks to a comment from Youtube from GregW0512, I now know a quicker way to open all the paths and a different technique to get your shape layers into ae from illustrator. Comment below.
You speed upped the video on the most important part. When i try if i try to morph two object which one of has more paths than the other it does not work. Let’s say i have an AI file converted into shape layer which has 30 paths. Then i have an other AI file which is converted in the same way to the shape layer but it has 50 paths. And i want to morph these two. But it doesnt work because one of it has more paths than the other. I could actually understand by watching your tutorial but as i said you speed upped your tutorial at that moment. If you answer me, i ll be glad because on the youtube you are the only channel that has an tutorial about how to morph complex AI files, not just the basic square to circle morphing
Hey Andack,
Thanks for watching our tutorial. Sorry those parts were sped up but its so the tutorial isnt extremely long and repetitive for the same actions. When I had project morphs with items with different path totals, I would duplicate some paths from the lower number layer and place them below the same path or fade them on when the transition happens. When the transition movement is so fast people wont catch on to the same objects, especially if they are morphing into another shape. Thats what i do on my projects. Let me know if you figured out another way! Hope this helps