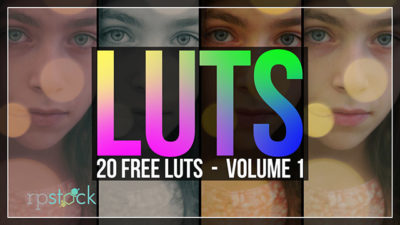
Hi everyone! We’re excited to announce our latest freebie pack, and it’s one I think every photographer and editor should have in their toolkit. LUTS!!! If you shoot and/or edit, you’ve likely had to work with log footage. What is log footage exactly? Well, log footage is essentially a very flat, low contrast video or image file that needs to be color corrected in post-production. It’s a way a camera can give you the best dynamic range from its sensor. (Not to be confused with raw files)
Now, it’s obvious to say that every camera is very different. So, if you’ve worked with different cameras before, you already know how each camera responds differently to color correction. For example, we have both the Canon C300 mk2 and the Sony FS7. Canon calls its log profile, CLOG and Sony call theirs, SLOG. Both respond very differently to color correction since both profiles are incredibly different. So the same LUT applied to both cameras, will look very different.
LUT is an abbreviation for ‘Look Up Table.’ It’s quite literally a series of numbers that are applied to an s-curve for color correction. LUTs come in different file formats, one that I use frequently is a ‘cube’ format. If you’re curious to see what exactly a look-up table is, take any LUT file and open it up in a text document. You’ll see rows of numbers that are actually applied to your Premiere or After Effects color grading plugin. It’s what dials in the color and contrast to your log footage.
Every LUT is a starting point. Our LUTs are a collection of different looks that we’ve created over the years. Some work well with the Sony, and other work well with a Canon. It’s never always perfect, as every shot is exposed differently from the other. And some shots feature darker or brighter content that might not mix well with a certain LUT. It’s a great way to find a look that you like, and dial it in by adjusting the mix of the effect.
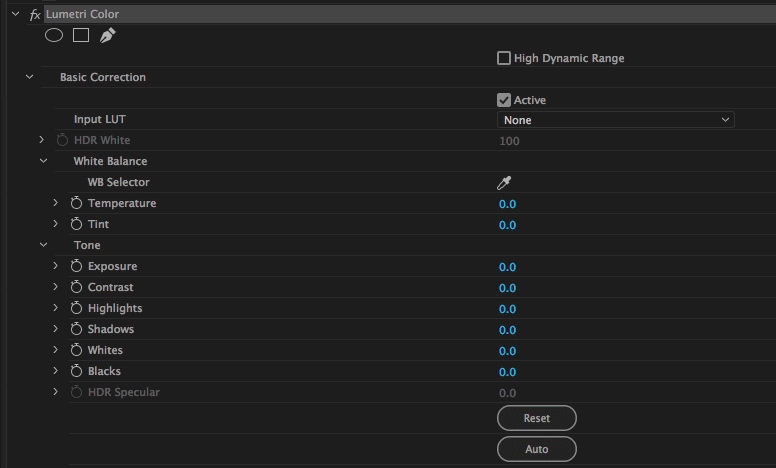 When it comes to applying LUTs, you can do so several ways. If you’re in Adobe Premiere, the most efficient way to do so is the built-in plugin called, Lumetri. It’s easy to apply, just browse for the LUT file and experiment with different looks. The best part of Lumetri, is that you can adjust the balance of your shot till you find the look you’re trying to dial in. The same can be said for Colorista by Red Giant. Colorista can be purchased alone or part of the Magic Bullet Color Correction Suite.
We hope you guys enjoy these! We really want to create more for you guys, so please tell us what you’d like to see. We plan on developing LUTs specific to each camera, so if there’s one out there you’re looking for, give us a shout.
Tony D